I started my configuration box.... I was very excited and did a lot of planning when it came to this project. Part of the fun is deciding on the "theme" of your box and collecting all the little treasures that you may want to put inside.
I decided on a Halloween theme because it is coming soon, but was really torn about making one for Christmas.
I decided on a Halloween theme because it is coming soon, but was really torn about making one for Christmas.
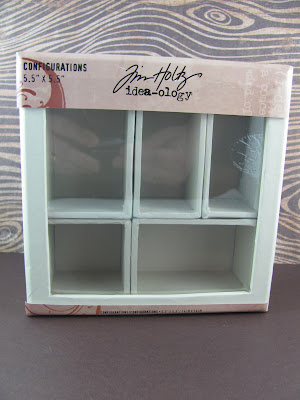
Here is the Tim Holtz Configuaration Box I started out with. I had the 5.5" x5.5" size box.
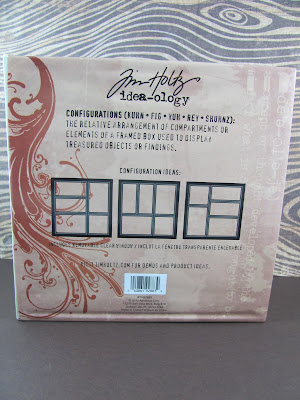
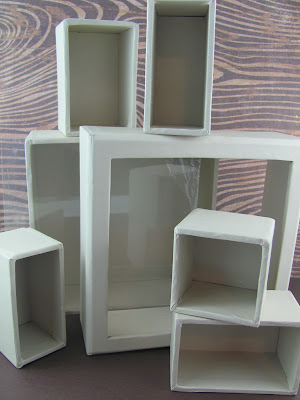
You can see that you get a lot of pieces to this set and you can use them any way you want as you can see the different configurations they give a suggestions on the back of the package. You can also leave pieces out in order to create a larger space. There is also a clear window that you can use on your box or leave it out. If you have elements that stick out of the box, you will not need the window. If you do use the clear window make sure that you remove the protective coating on it.
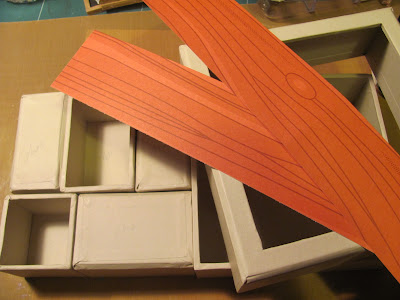

I chose my paper cut measured and cut into the correct size and glued down with Claudine Hellmuth Matte Medium, she also has Gloss finishes.
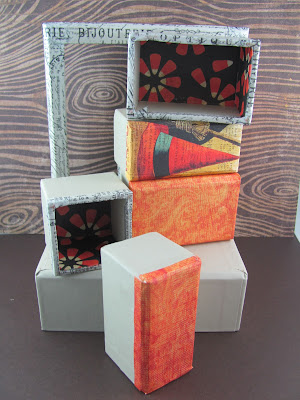

Now I covered all the boxes and frame of my box and was ready to assemble and embellish the box.
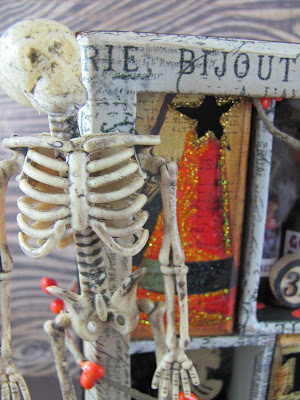
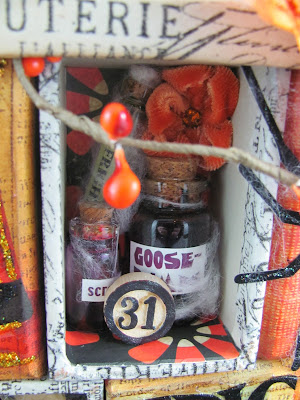

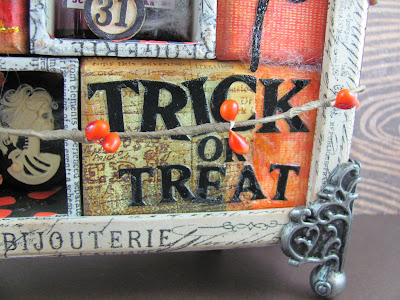
So section by section I started to decorate and spookify this box!
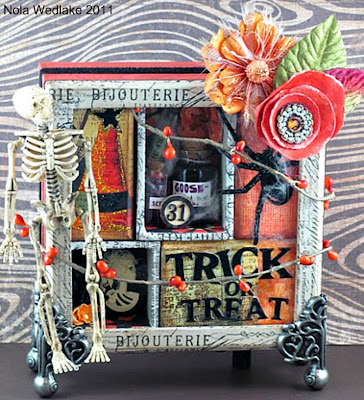
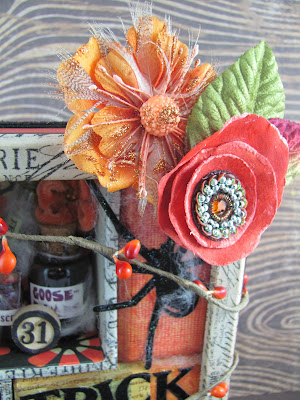
And THIS is what I ended up with, I am happy with the way it turned...BUT can't stop thinking about what could have been if I had chose Christmas...
Make sure you come back next week to see PART 2 of this Configuration Box story....
You can see that you get a lot of pieces to this set and you can use them any way you want as you can see the different configurations they give a suggestions on the back of the package. You can also leave pieces out in order to create a larger space. There is also a clear window that you can use on your box or leave it out. If you have elements that stick out of the box, you will not need the window. If you do use the clear window make sure that you remove the protective coating on it.
I chose my paper cut measured and cut into the correct size and glued down with Claudine Hellmuth Matte Medium, she also has Gloss finishes.
Now I covered all the boxes and frame of my box and was ready to assemble and embellish the box.
So section by section I started to decorate and spookify this box!
And THIS is what I ended up with, I am happy with the way it turned...BUT can't stop thinking about what could have been if I had chose Christmas...
Make sure you come back next week to see PART 2 of this Configuration Box story....


0 comments:
Post a Comment